

Music Files Of Your Device Got Erased?
Synchronizing an iPod to iTunes automatically end like this. In fact, you are only allowed to connect your iPod with a single iTunes library on a computer.
As soon as, you connect your iPod to another computer, you’ll be prompted to erase its files before proceeding.
Fortunately! You can change the settings on your iPod so that this doesn’t occurs in the future.
We will show you two different ways:


#1: Manually Managing Your Music
#2: Using a Third-Party Management Program
Add songs to iPod without losing music, let’s get started…
Method#1: Manually Manage Your Music
Step#1: Open iTunes before connecting your iPod with computer, it will try to sync automatically. Disable this in iTunes.


Step#2: Click the “iTunes” (Mac) or “Edit” (Windows) menu. If you don’t see the menu bar in Windows, press Alt.
Step#3: Select “Preferences“, this will open the iTunes Preferences menu.


Step#4: Click the “Devices“ tab to see display settings for connected devices like your iPod.
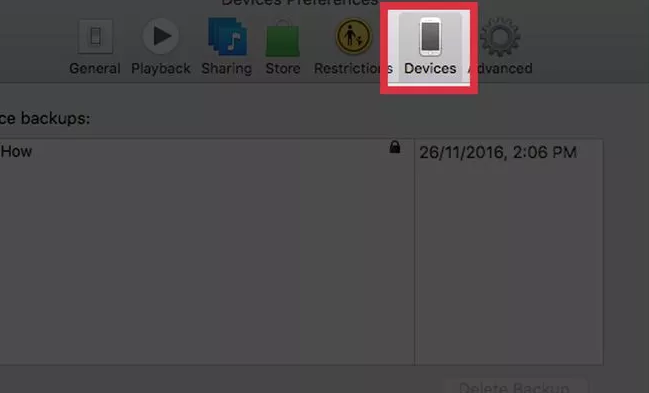

Step#5: Check the “Prevent iPods, iPhones, and iPads from syncing automatically.” This will prevent iTunes from trying to automatically sync and remove content from your iPod.


Step#6: Connect your iPod to your computer via USB. It will appear at the top of the iTunes window after a moment.
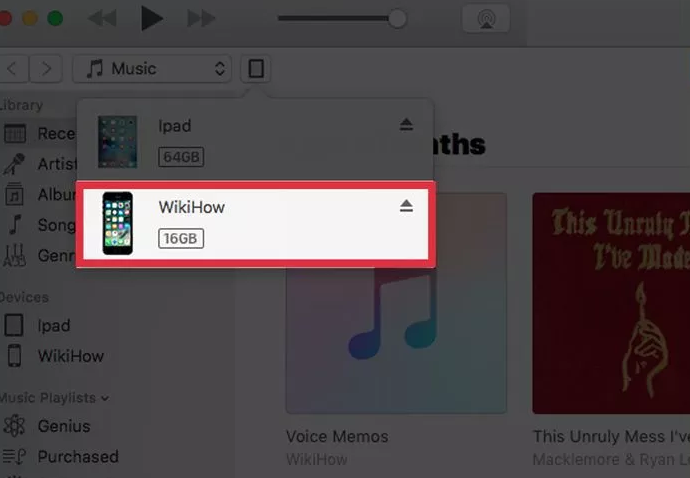

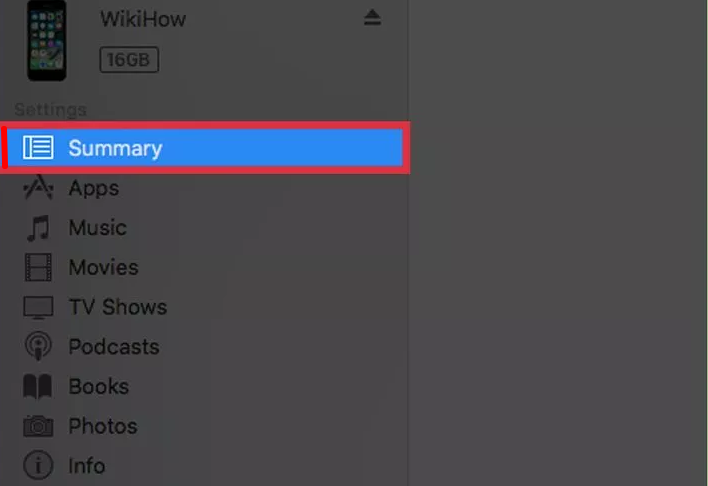
Step#7: Select your iPod from the top row of buttons in iTunes, it will display the Summary page for your iPod in the main iTunes frame.

Step#8: Scroll to the bottom of the Summary screen and check “Manually manage music and videos.” This feature will allow you to manually add and remove music from your iPod instead of relying on the syncing process.
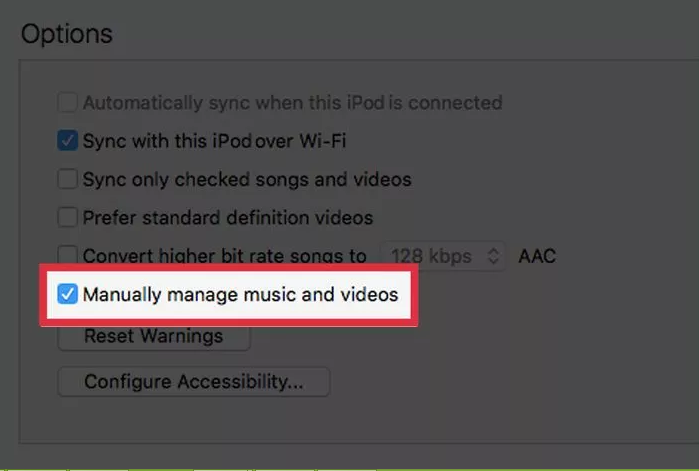

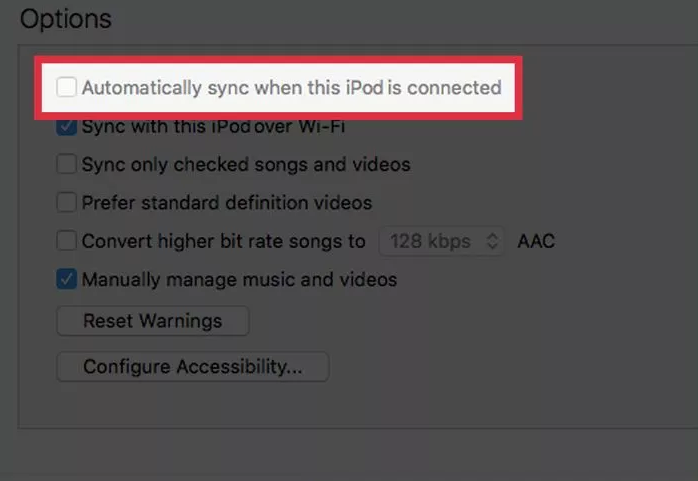
Step#9: Uncheck “Automatically sync with this iPod is connected”, this will prevent your iPod from to sync when you connect it to a new computer.

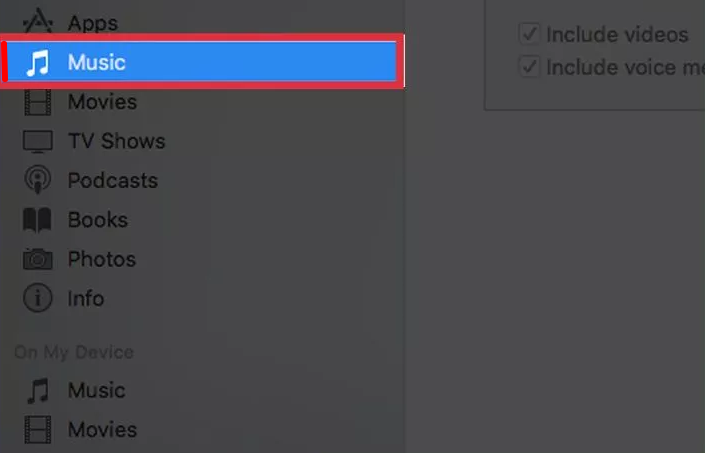
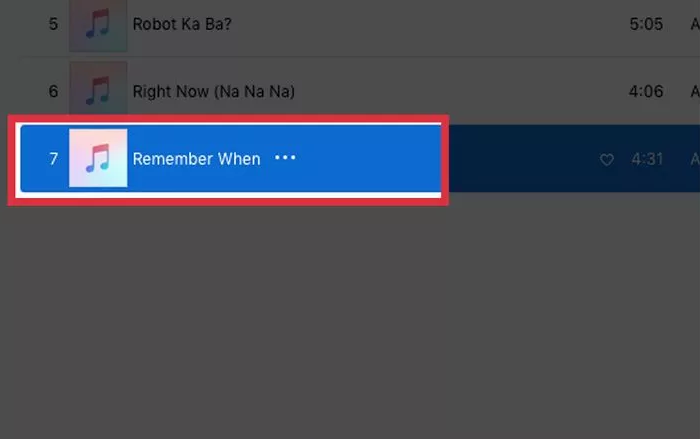
Step#10: Click the “Music” button in iTunes and highlight the music you want to transfer.

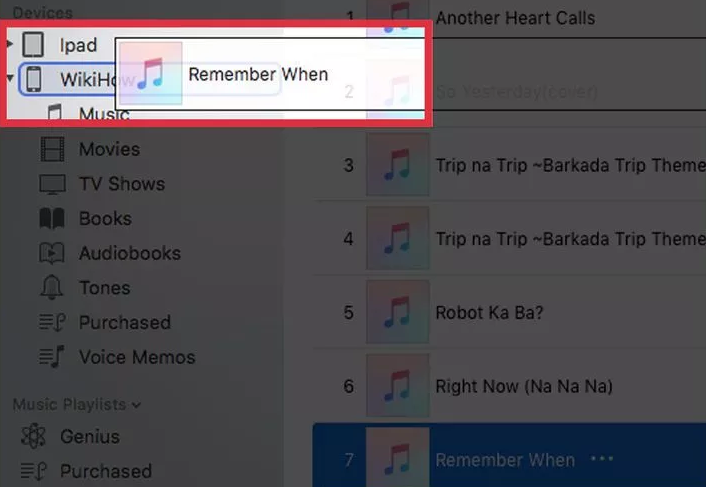
Step#11: Click and drag the selected music, you’ll see a sidebar appear on the left side of the iTunes window with your iPod in the Devices list.

Step#12: Drop the music on your iPod in the sidebar that appears. This will transfer the selected music to your iPod.

Step#13: Wait for the selected music to copy. You can monitor the progress at the top of the window.
Step#14: Eject your iPod and listen to your newly transferred music. Right-click on your iPod in iTunes and select “Eject” once you’re finished transferring music.
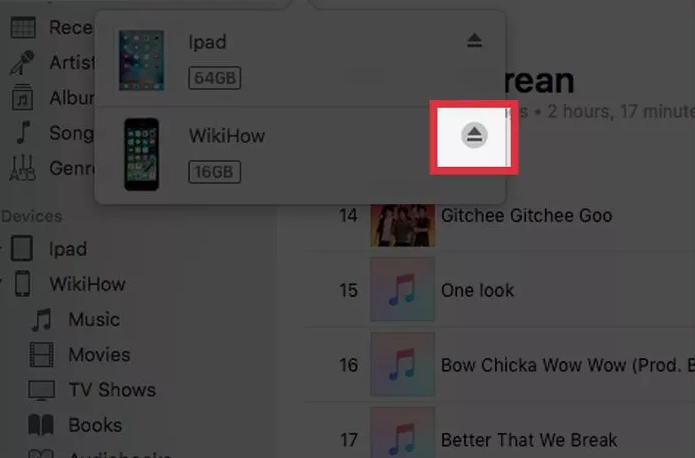

Now, you can connect your iPod to any computer and transfer music to and from it in iTunes without disturbing your old iPod contents.
Method#2: Using a Third-Party Management Program (ProTrans)
The easiest way to copy music to your iPod without syncing through iTunes is ProTrans. Use this program if you need to copy music without deleting the current content.
Follow the steps given below to execute this program:
Step#1: Firstly, install iTunes so that PodTrans could connect your iPod. This is only required in Windows, as iTunes is built-in to OS X.


(You can freely download iTunes from http://www.apple.com/itunes/download/)
Step#2: Now, download and install PodTrans.
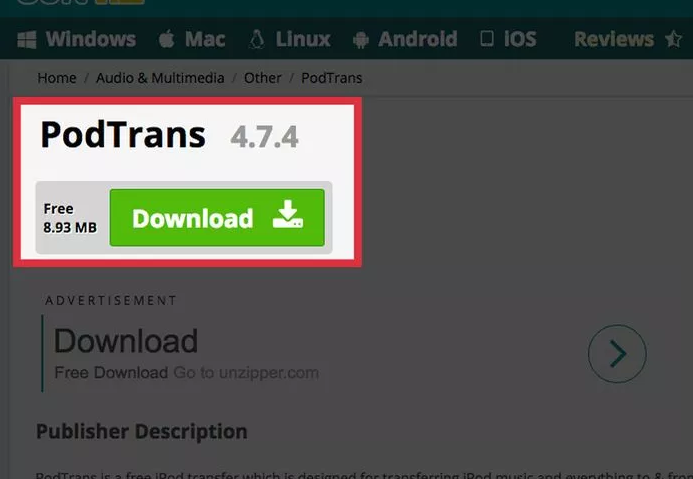

Step#3: Connect your iPod to your computer via USB cable. Close iTunes if it opens automatically.


Step#4: Open PodTrans and wait for your content to upload. It may take few minutes for all of the content to appear in the PodTrans window.
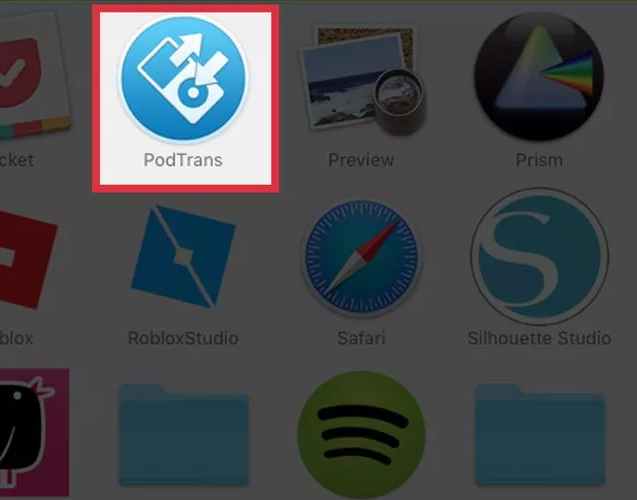

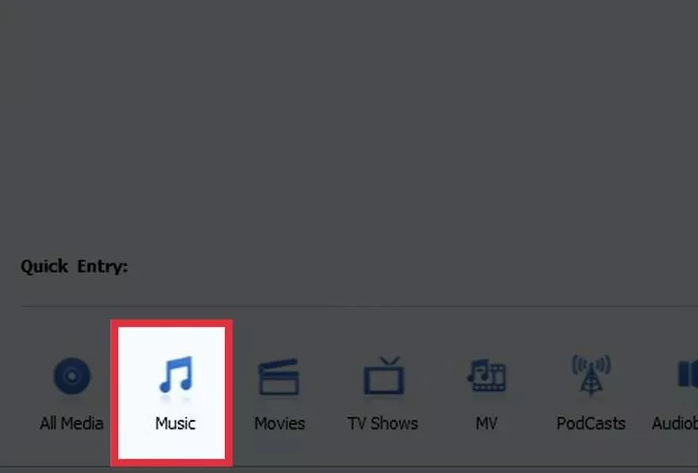
Step#5: Click the “Music” button below your device option in PodTrans. This will display all of the music that is currently stored on your iPod.

Step#6: Drag and drop the music files that you want to add into the music list. This will automatically start transferring them to your iPod.
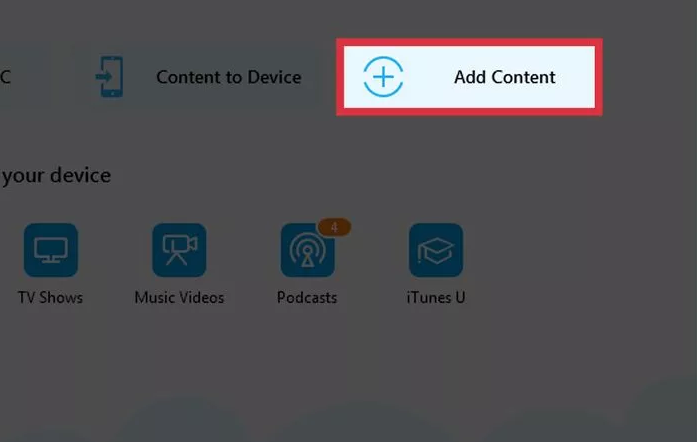

Step#7: Wait for the music to copy. You can see the transfer progress at the top of the screen.
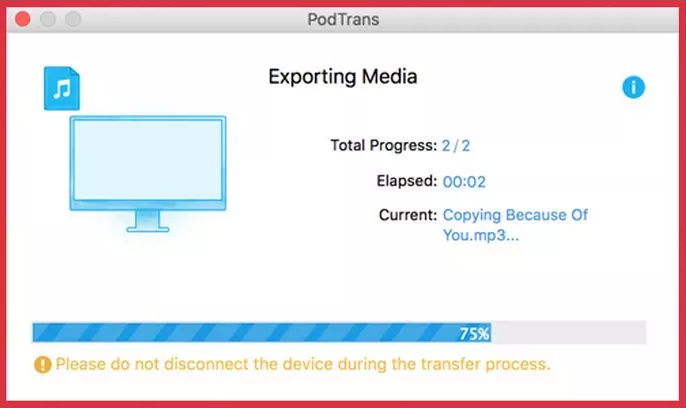

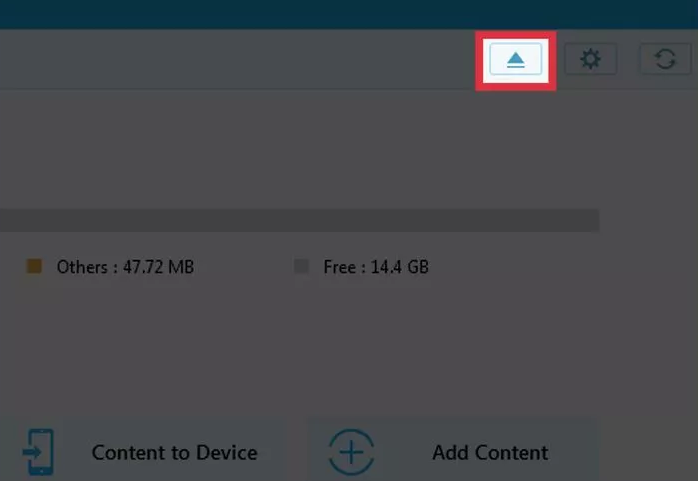
Step#8: Disconnect your iPod once the music is copied.
You can now find your new tracks just like any other song on your iPod.
If you got stuck in any of the above described steps, you can utilize our customer support service.
Feel free to contact us!

You may also like these posts…
6 EASY Ways to Connect an iPhone, iPad Or iPod Touch To Your TV